...
Instructions via the Ticketing Section
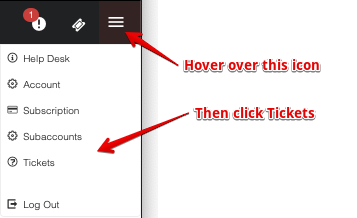
Scroll over the
iconhamburger menu at the top right of the CRM and click Tickets.
Click Submit a Ticket under the Jira Service Desk Support section.


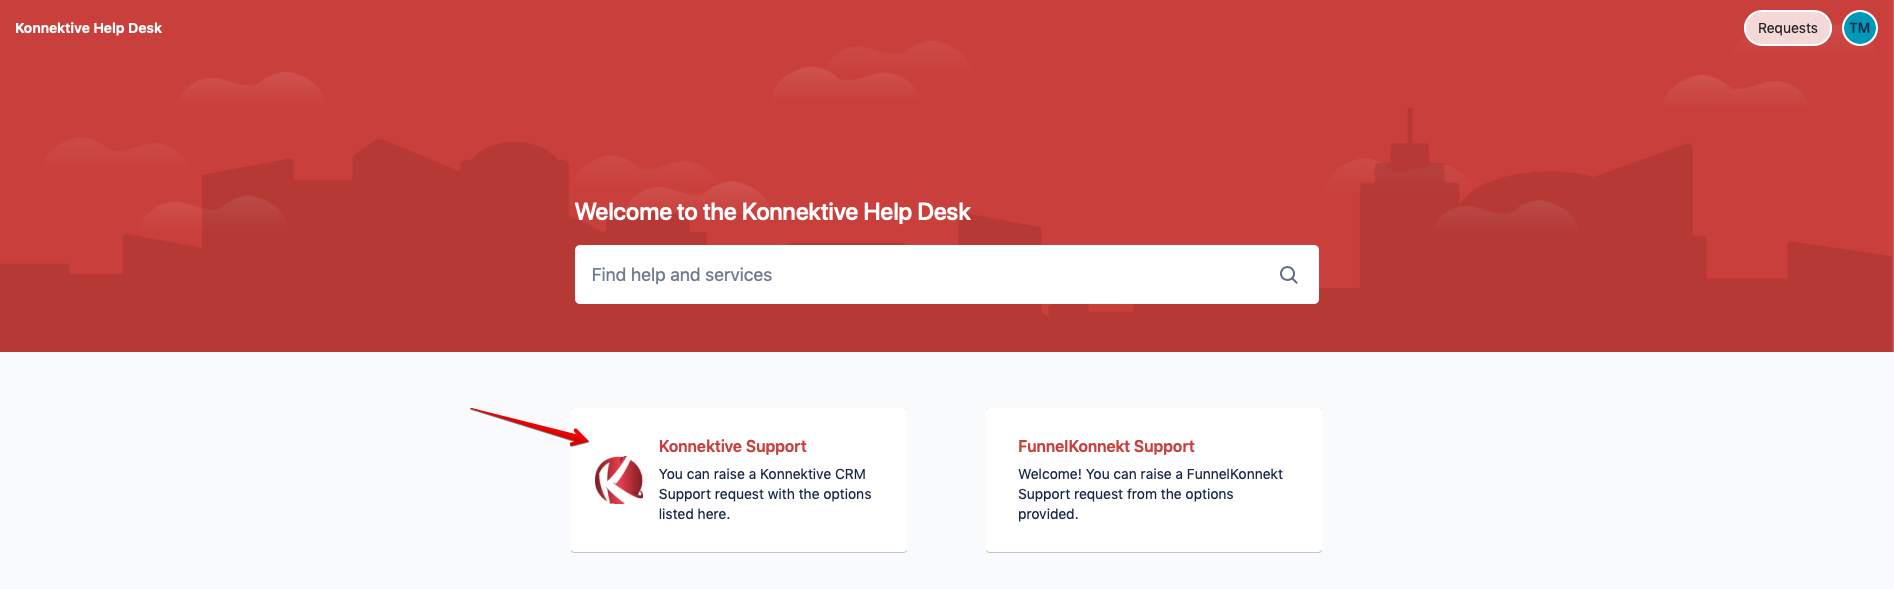
Upon clicking this button, you will be redirected to the Help Desk where you can search for items within our knowledge base.
While on this page, we highly recommend creating a free Jira login (top right of this page) so you can view all of your pending and past requests.
If you cannot find what you are looking for in the knowledge base, you can click the Konnektive Support button to submit a ticket.

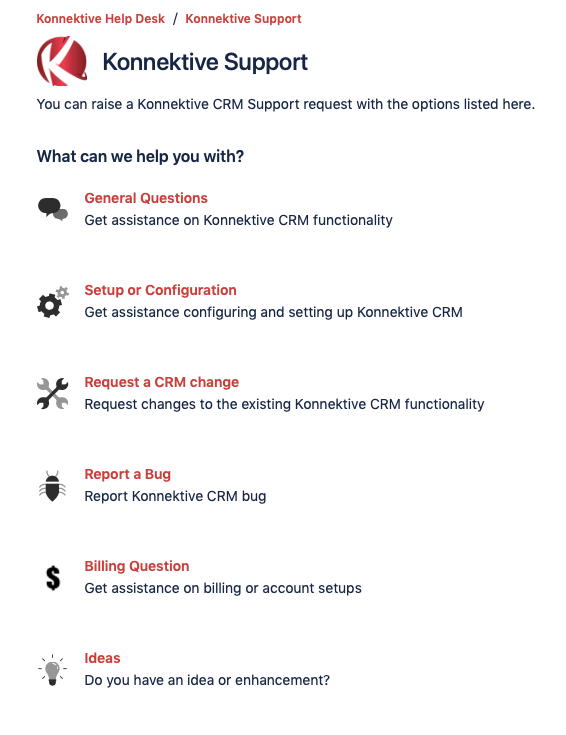
Choose what type of ticket you want to submit.

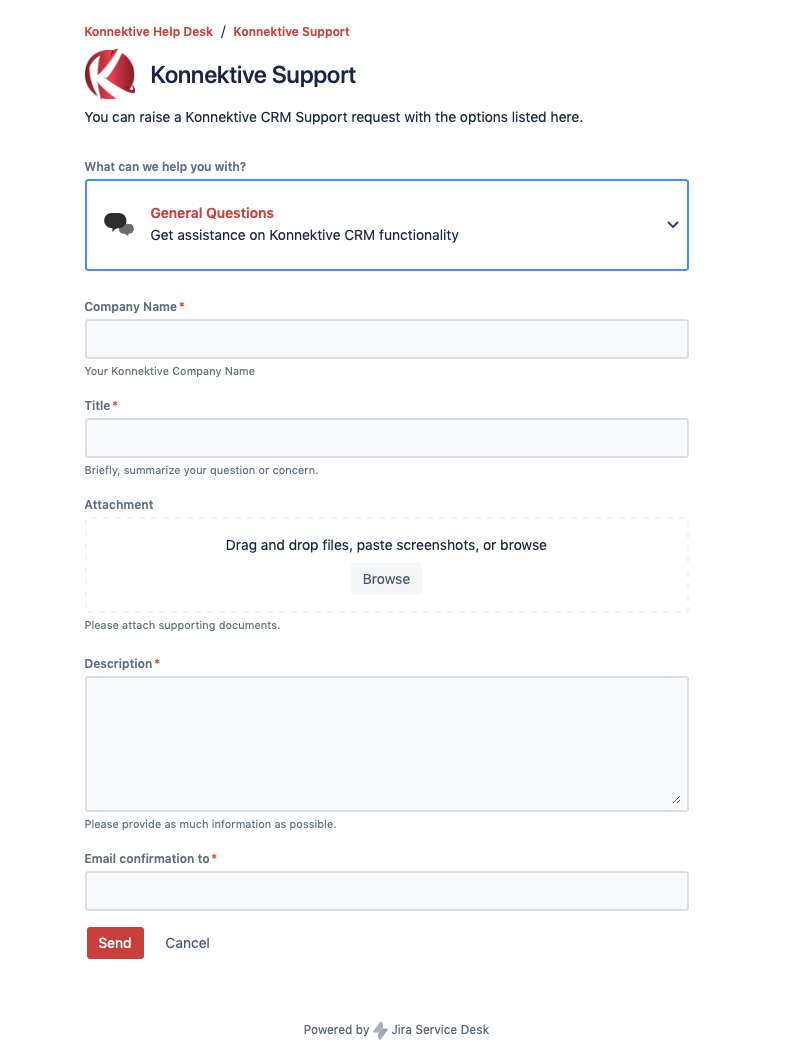
Fill out the required values and include any screenshots that will help the Konnektive team investigate.

After the ticket is submitted, you will receive an email notification confirming so.
Upon a response from Konnektive, you can simply respond to the email and attach pictures to update the ticket.
If you made a Jira account, you can go into the Help Desk and click Requests on the top right to view and respond to pending/past tickets.
Instructions via the Help Desk button (bottom right of CRM)
Click on the Help Desk button.


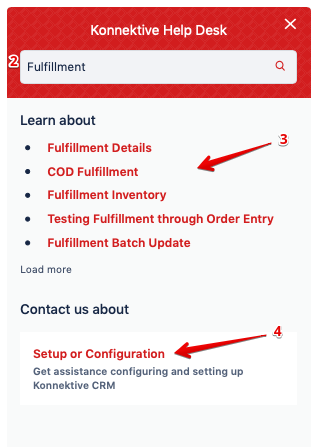
Type in keywords to search by and click Enter.
The widget will present you articles relating to your search under the "Learn about" section.
If none of the presented articles help find your answer, you can click Setup or Configuration under the "Contact us about" section.

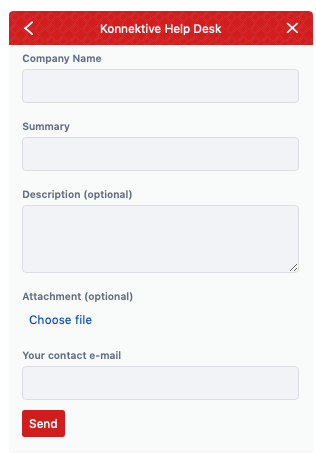
Fill out your Company Name, a summary/title of the issue, a description of the issue, and your contact email. You can also attach any files necessary to help the Konnektive team investigate.

After the ticket is submitted, you will receive an email notification confirming so.
Upon a response from Konnektive, you can simply respond to the email and attach pictures to update the ticket.