...
Go to CRM | Campaigns and click the Green Plus Sign: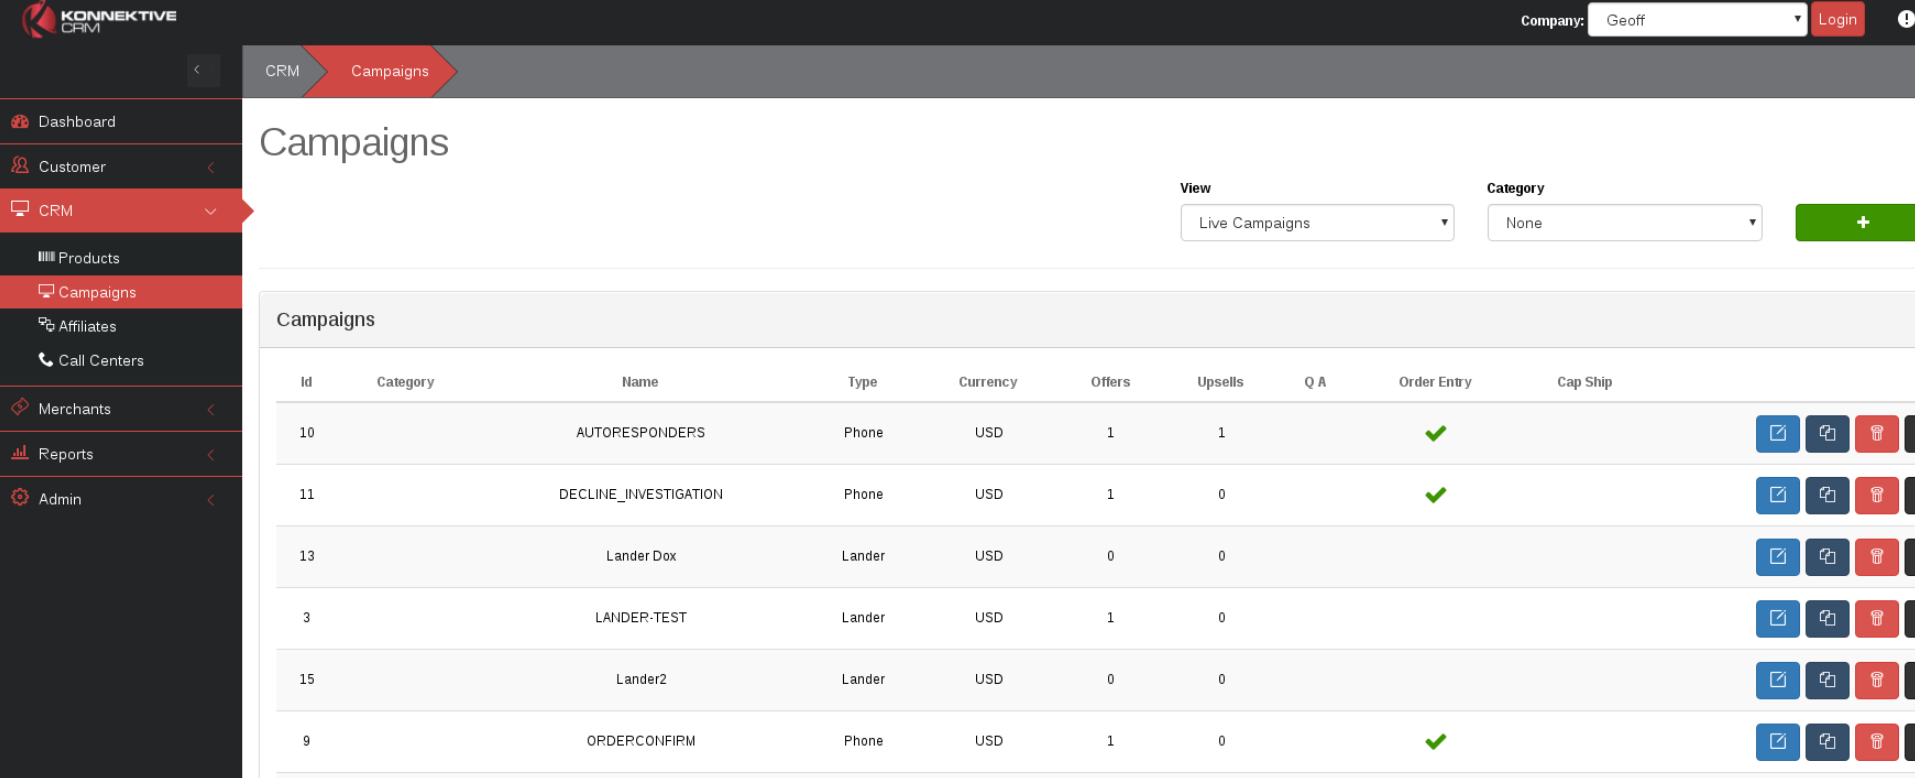
...
Create New Campaign: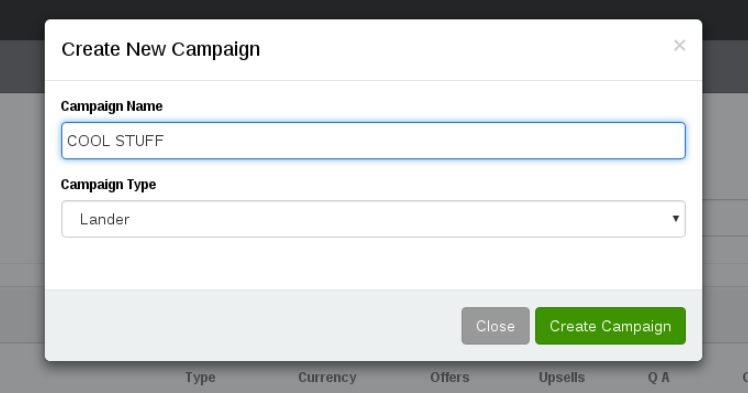
...
Campaign Name: Display name for Campaign
Campaign Type: Select 'Lander'
After setting up an Offer for your Campaign, click on the 'Create Page' button in the Lander Page section:
...
Create a New Landing Page: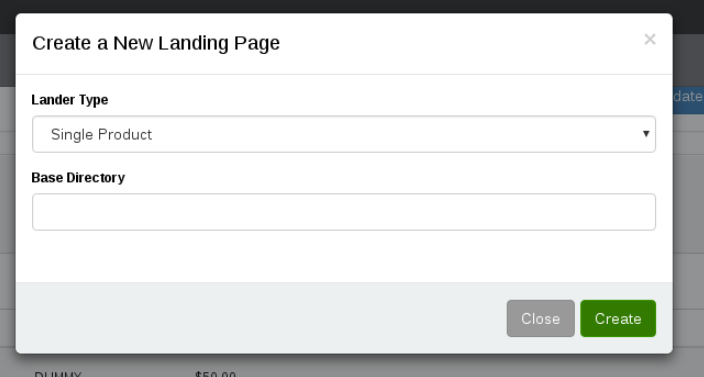
...
Lander Type: Select 'Single Product'
885pxBase Directory: The full URL to where your lander will be deployed.
Under Landing Page select the blue Edit Pages button: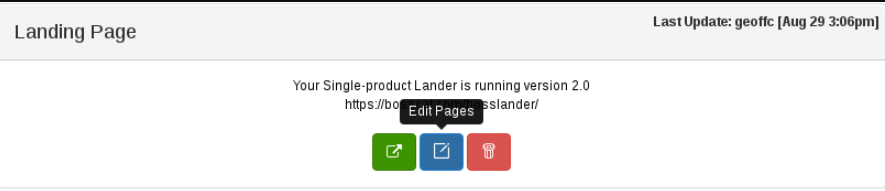
...
Select the Checkout tab and then Create Page: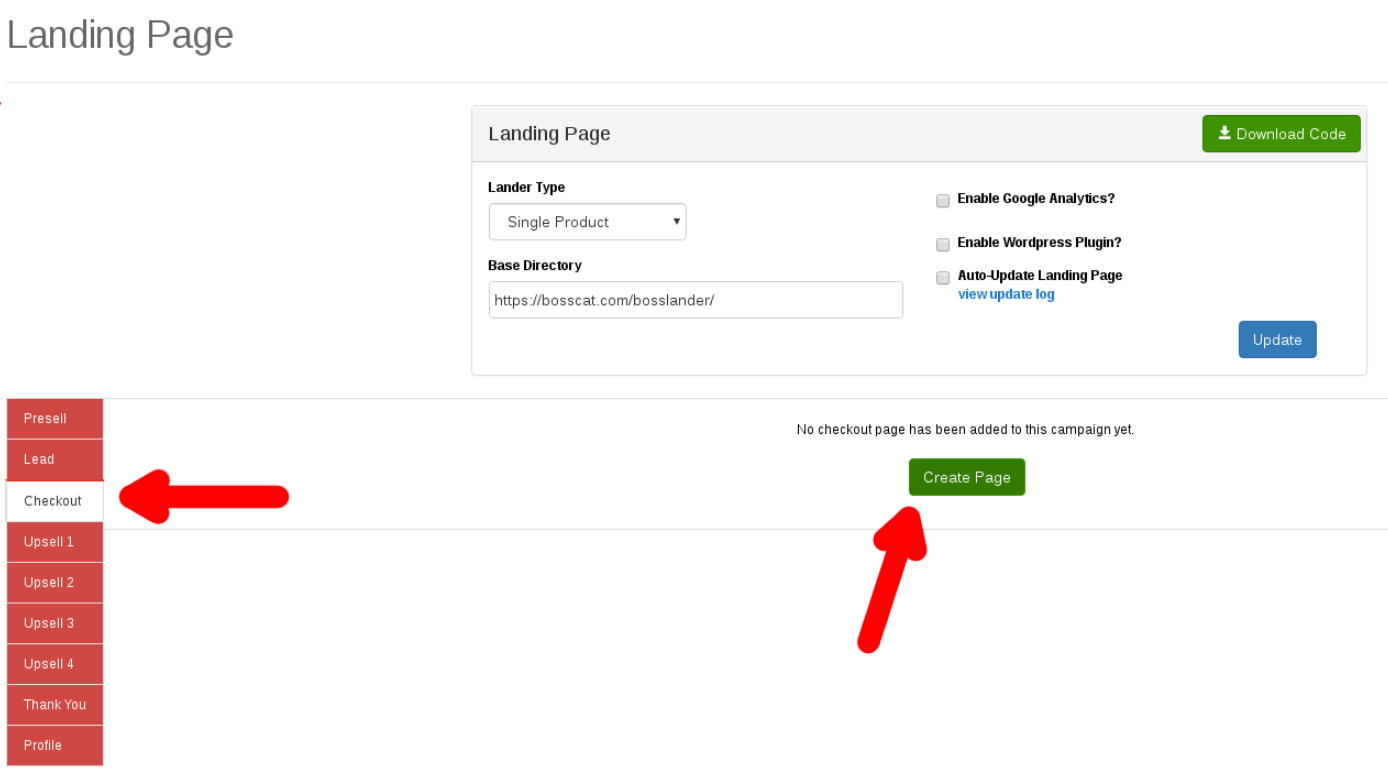
...
Create New Checkout Page:
...
Filename: The name of the php file to be executed on your server
Offer: The Offer you created for the Campaign.
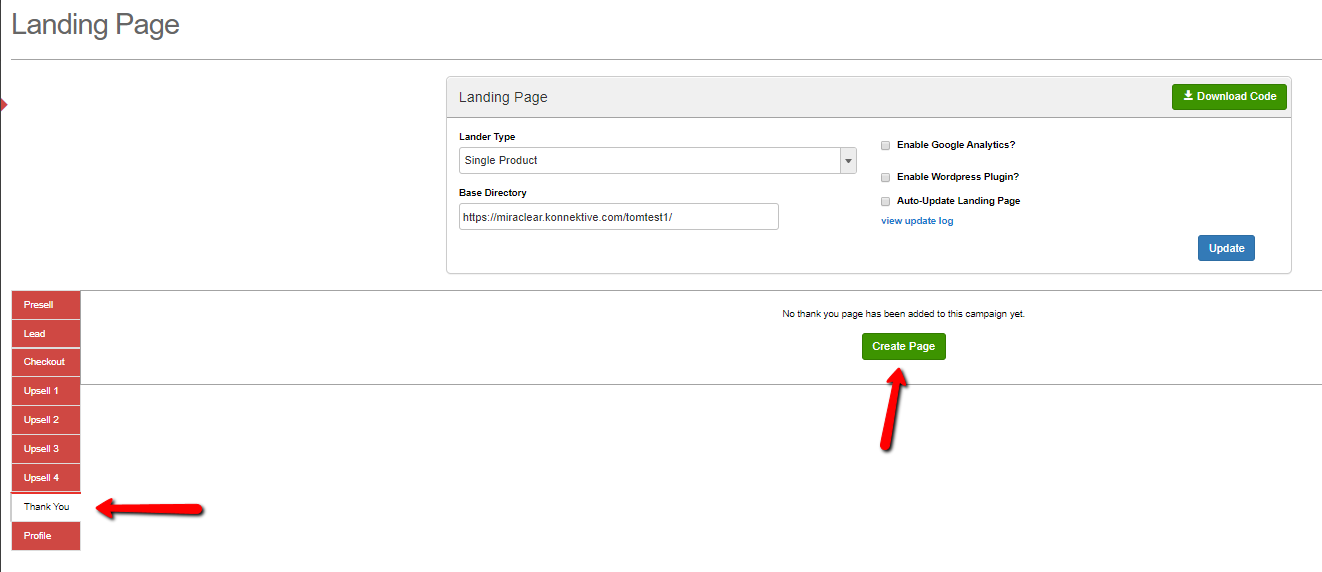
Select the Thank You tab and click Create Page:
...
Create New Thank You Page: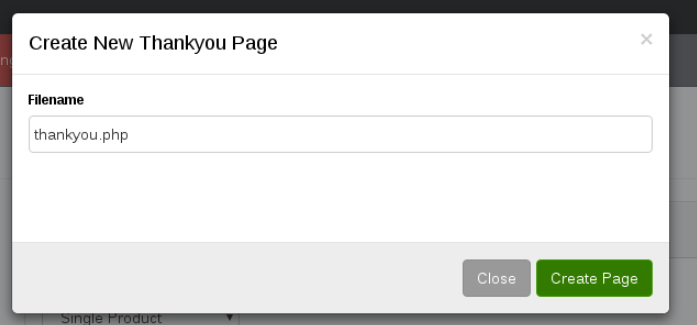
...
Filename: The name of the php file to be executed on your server
NOTE: Other pages can optionally be created for your funnel by selecting their tab on the Edit Landing Page screen:
Presell: The opening page of your funnel.
Lead Page: Lead Pages direct a customer to an initial page with a small number of form fields. This gives you a higher success rate of collecting contact and lead information from customers, even if they ultimately decide not to purchase your product. This is also a first chance to present your product to your customer without them having to worry about a credit card field just down the page.
Upsell 1-4: Konnektive provides one-click upsell pages, that you can use to push additional product to your customer before they reach their order summary. You have the option to require that the customer re-enters their card information or you can simply provide a button that will authorize the charge.
Profile: Shows the Customer Profile information.
Once you have designed your Landing Pages, Select the green Download Code button: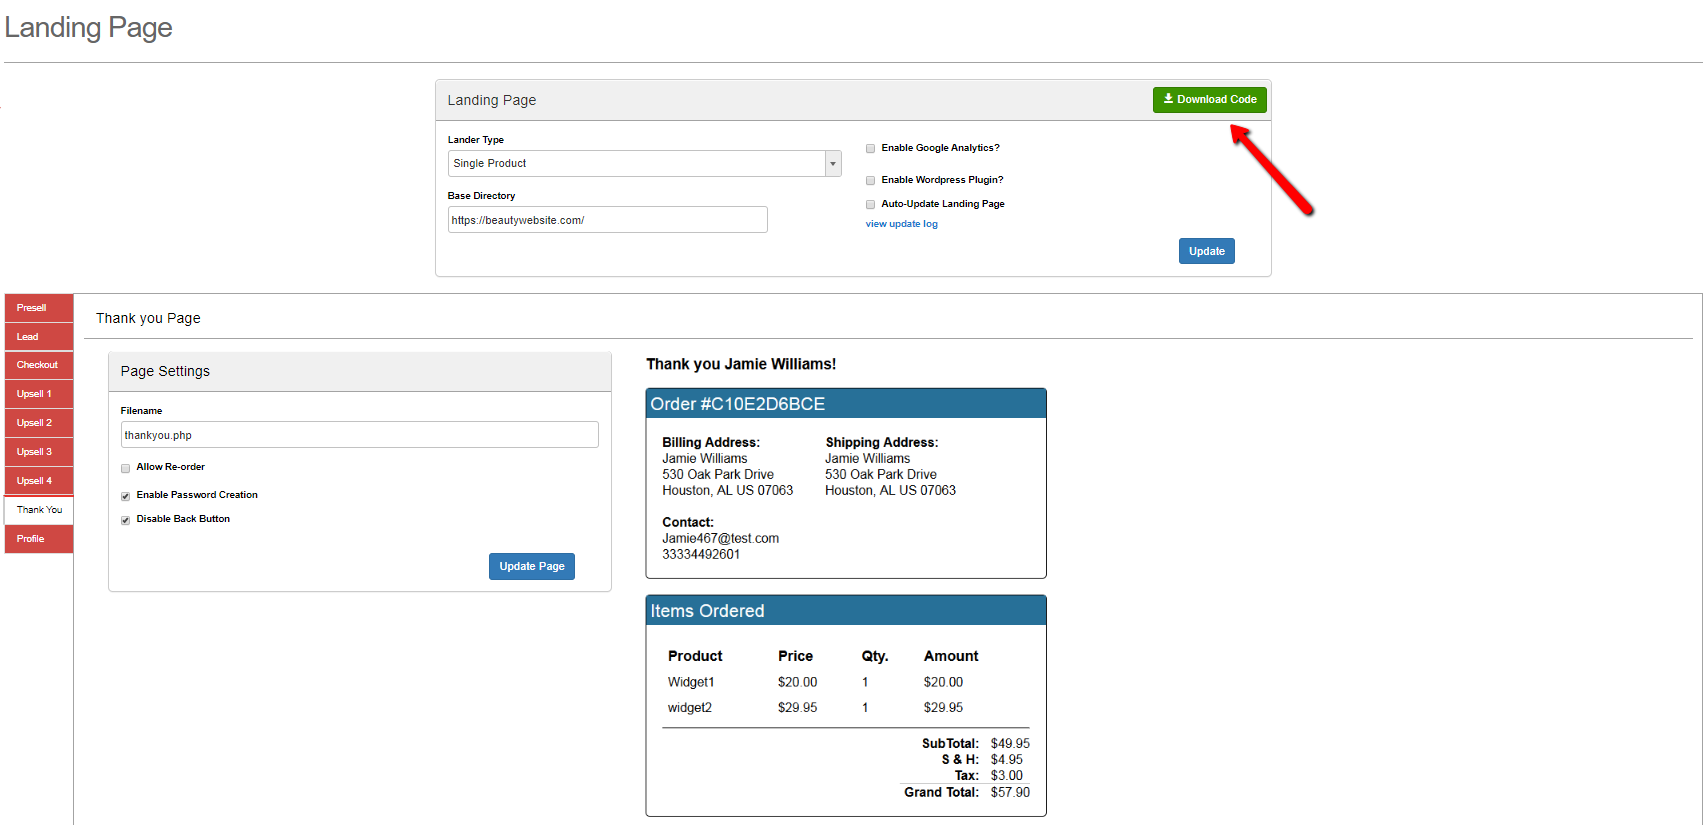
...
Unzip the landing package and upload the files to the web server associated with your domain (We recommend SFTP). Be sure to put these in the same directory that you used when setting up the landing page configuration.
Next go into the resources directory and open the file called config.php. At the top of this file you will need to complete the apiloginId (username) and apiPassword (password) with the credentials of an API User with access to your CRM:
| Code Block |
|---|
<?php

KformConfig::setConfig(array(
    "isWordpress"=>false,
    "apiLoginId"=>"",
    "apiPassword"=>"",
    "authString"=>"f193e98f598bb4e808e973d5b84e7df9",
    "autoUpdate_allowedIps"=>array("80.248.30.132"),
    "campaignId"=>1,
"resourceDir"=>"resources/")); |
Once this is done, your landing page is fully installed and will be ready to take sales. However, it is static at this point and will not respond to changes in the CRM campaign and landing page configuration files. In order to make your page reflect pricing changes, new product images, and new product descriptions, you will need to enable the auto-update feature.
...
In cPanel, this can be accomplished with the file manager. A cPanel tutorial for this is available available here
For Linux users, this can be accomplished over SSH using the chown and chmod commands.
...