...
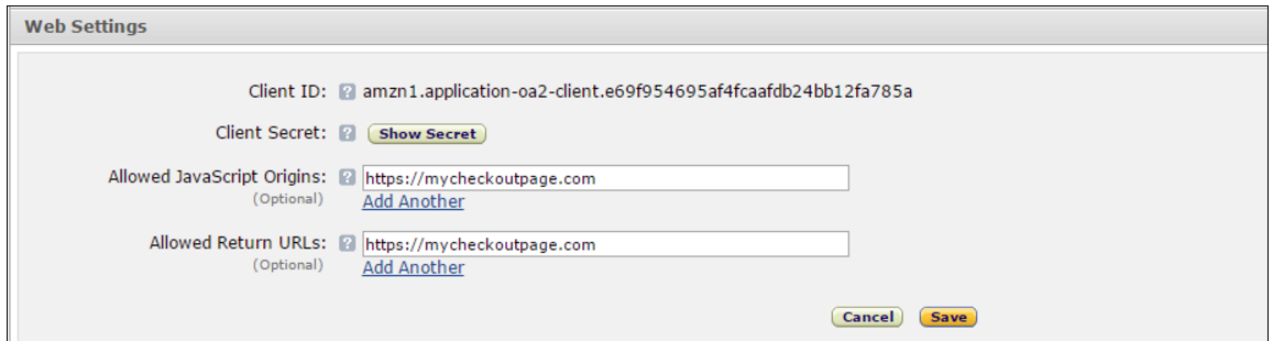
Also ensure that you write down the Client ID and Client Secret. You will need these later for the Konnektive Setup
Step 2: Give Konnektive Access to Amazon MWS
Go to https://developer.amazon.com and on the right side of the screen click the yellow "Sign up for MWS" button.
...
If you are not logged in, you will need to log into Amazon.
You can visit Registering to use Amazon MWS For Additional Support
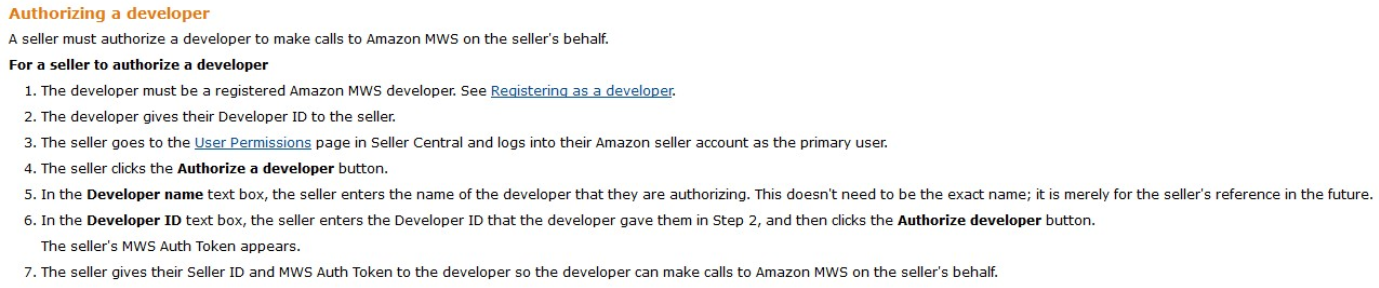
Go to the User Permission Page in Seller Central and click the Authorize a developer button.
Enter "Konnektive CRM" for the Developer name and enter "8697-6685-8860" for the Developer ID.
Click the Authorize developer button. Write down your Seller ID and your MWS Auth Token for later. It's a pain to get this information again so make sure you store this somewhere safe.
...
Step 3: Setup Amazon in Konnektive Merchant Accounts
Open the Merchant tab and create a new MID. Select "Amazon" in the gateway type drop-down.
The system will require your clientId, clientSecret, MWSAuthToken and SellerId setup in steps 1 and 2. Enter those credentials and save the new mid.
Step 4: Edit Landing Page to use Amazon Login
Go to CRM | Campaigns | edit to view your Landing page configuration. Find your landing page and click "Edit" to edit the Lander.
...
You'll need to select your Amazon MID setup in Step 3 in the select box labeled: "Amazon Account". Select your Account and then click "Update".
...
Step 5: Download and install Code Package
Congratulations! Amazon is now enabled. If you have not installed your landing page code, do so now. If you code is already installed you will need to update your config.php file (using the auto-update feature) and add the following lines of code to your checkout.php page (You can also download these from the Landing Page editor):
...